Chocolate
Homemade Peanut Butter Cups
I’ll admit it. This one is probably only for those truly experimental, adventurous kitchen creatures out there. Although it is…
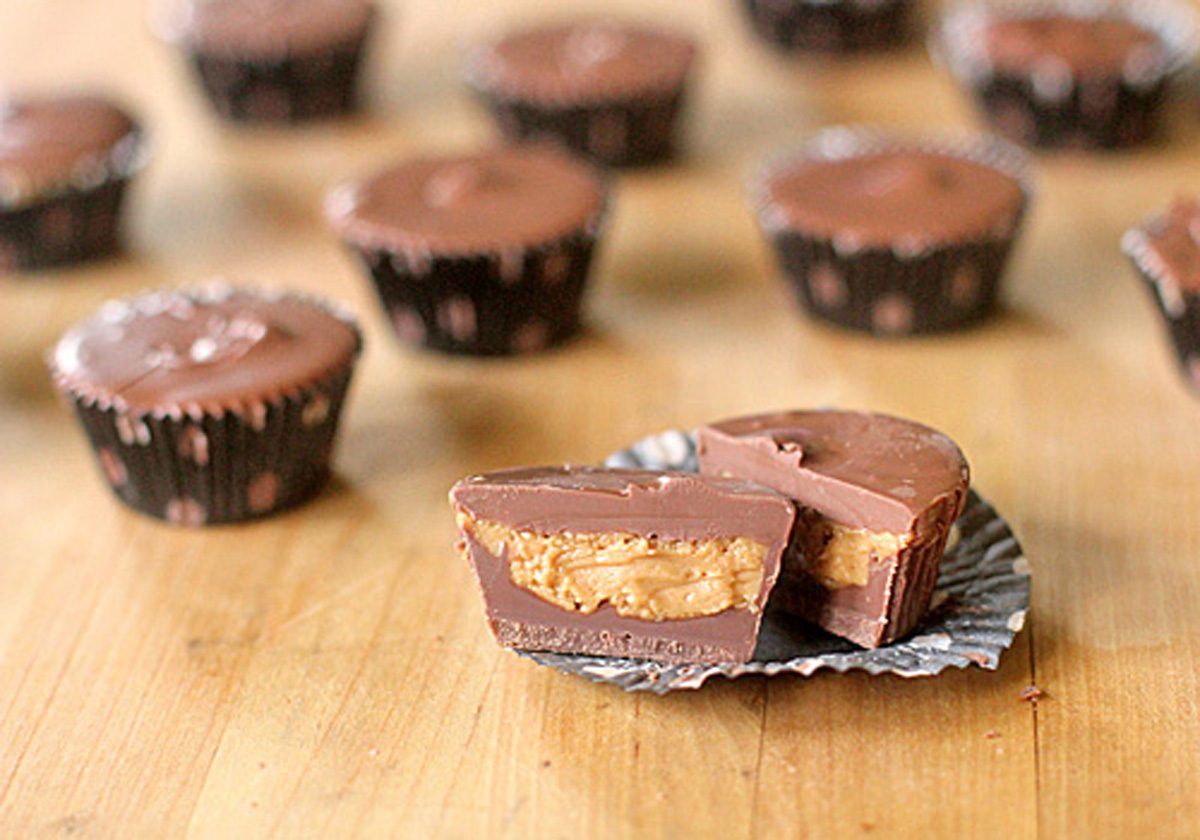
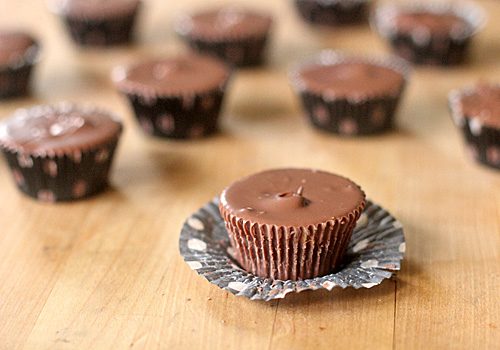
I’ll admit it. This one is probably only for those truly experimental, adventurous kitchen creatures out there. Although it is not a difficult process, the product is readily available on supermarket shelves. I also must say that the process of making these little cups is fun, and the result is all the reward you could want. The extra made at home bonus—no preservatives or otherunwanted garbage in yourfood!
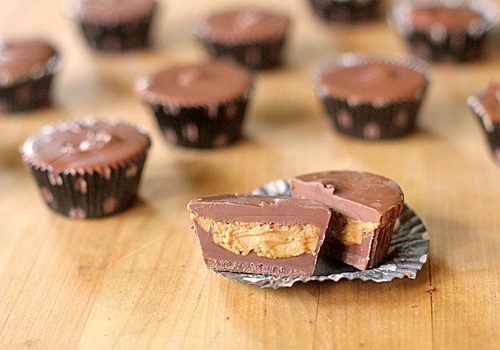
These cups stand up to anything you can find in a store. My quartet of taste testers all marked “better” on their sheets. They also provide a great opportunity to involve kids in the kitchen.
Source: Yarod
Homemade Peanut Butter Cups
Prep: 20 minsRefrigeration and Freeze Time: 12 minsTotal: 32 mins Servings: 27 mini cups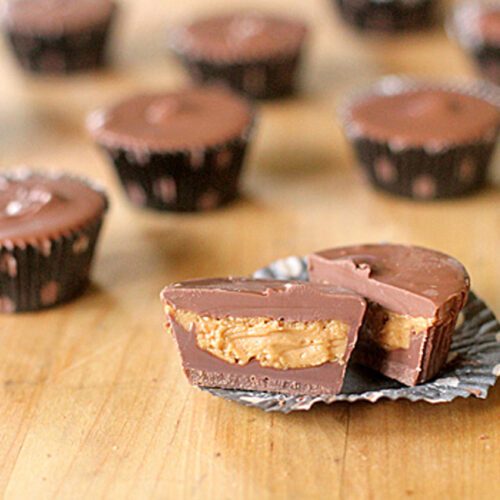 You cannot resist these homemade chocolate and peanut butter confections!
Equipment
- 1 24-cup mini muffin pan
- 1 Mini cupcake liners
Ingredients
- 1 ¼ pounds 20 ounces milk chocolate, chopped
- 2 ½ teaspoons vegetable shortening
- 8 ounces about 1 cup peanut butter, natural or regular
- ¾ cup confectioners’ sugar
- 3 tablespoons unsalted butter, melted
- ¼ teaspoon pure vanilla extract
- Pinch of kosher salt
Instructions
- Line a 24-cup mini muffin pan with paper liners (you will have a few extra on the side); set aside. *Note–if you prefer a flatter, more Reese’s-like shape of cup, do not use a muffin pan. The weight of the chocolate and peanut butter mixture will spread out inside the liner making for a flatter cup. In this case, just set liners on your counter.
- In a medium bowl, combine the chocolate and shortening. Melt over a saucepan of simmering water or in the microwave, stirring occasionally until completely smooth. Place about 1 1/2 teaspoons of the melted chocolate in each paper liner. Using a small, clean paint brush, brush the chocolate up the sides and the bottom of the liner to coat. (Reserve the remaining chocolate and keep warm.) Place the muffin tin in the refrigerator just until the chocolate is set, about five minutes.
- Meanwhile, combine the peanut butter, sugar, butter, vanilla and salt in medium bowl using a hand held mixer until completely smooth. Using a spoon or piping bag, place the peanut butter mixture into the wells of each chocolate-coated muffin cup, about 1 1/2 teaspoons per cup. Place the muffin tin in the freezer just until the peanut butter mixture is firm, about 5-7 minutes.
- Using a finger or the back of a spoon, gently press on the peanut butter mixture to smooth and flatten; allow the muffin cups to come to room temperature. Spoon the remaining melted chocolate on top of the peanut butter mixture and gently rap the muffin tin on the counter to smooth and level the chocolate. Allow the chocolate to set before serving. Enjoy!
Notes
You can substitute the milk chocolate with dark chocolate. Cups can be made one day in advance and stored in an airtight container at room temperature for 3 days, in the refrigerator for one week, and in the freezer for 3 months.Nutrition
Calories: 185kcal, Carbohydrates: 18g, Protein: 3g, Fat: 13g, Saturated Fat: 6g, Polyunsaturated Fat: 1g, Monounsaturated Fat: 5g, Trans Fat: 0.1g, Cholesterol: 3mg, Sodium: 40mg, Potassium: 109mg, Fiber: 2g, Sugar: 15g, Vitamin A: 39IU, Calcium: 10mg, Iron: 1mgNutrition information is automatically calculated, so should only be used as an approximation.